
Introduction
We are here to help you every step of the way as you develop your domain. Before your domains workshop, read this article to help you get started.
Davidson Domains is a service that provides all Davidson students with a personally-owned and managed internet presence. This presence can be anything from a simple personal Web page to a full-fledged e-commerce site and is an excellent space to cultivate your digital identity while at Davidson and beyond.
In brief, Davidson Domains gives students a way to build a website or websites where they control everything from the look to the technology behind it. Both the site and the tech can be as simple or complex, and the presentation as basic or creative, as you want or need.
The College has transitioned to the use of subdomains, called DCreate, for all new student Domain accounts. DCreate is your main subdomain and serves as your web presence home at Davidson. Think of DCreate as your condo on the web that can be decorated to your taste and shared at your discretion.
During the Domains class session, you will create a unique subdomain that is distinct from your main subdomain/ DCreate account. Going back to our condo analogy, the subdomain that you will create for your class will be a room within your condo. You will decorate and furnish it with content related to your class project.
So before you show up to your domains session should have:
- Registered your domain name or verified your existing domain account
- Created a subdomain for your class
- Install WordPress onto your class subdomain
The instructions to complete these steps are outlined below.
Important Note: If you have previously created a Davidson Domains account, known as a Second Level Domain (SLD), then you are already registered and do not need to create a DCreate subdomain account. You will, however, follow the same steps as DCreate account holders to create a class subdomain.
Create a Davidson Domains Account (New Users)
If this is your first time registering for a Davidson Domains account, you will first start by setting up your DCreate/ Main Subdomain Account.
To get started:
- Decide on a name: Take some time to come up with your domain name. We suggest that your DCreate/ Main Subdomain Account name be easy to remember and as short as you can make it. We encourage you to consider using your full name as your “Top Domain” (for example, jaylee.dcreate.domains). Later on, you will create a unique subdomain for your class project ( for example, his250.jaylee.dcreate.domains).
You can always add additional subdomains later with more creative names, but for your main subdomain it should be easy to remember and as short as you can make it. Think of it as naming your digital space. This is a space that you will use for this project, but it is yours and you may use it for other projects or ideas down the road. It is also a part of Davidson that you can take with you when you leave.
So, for example, I might come in thinking about these basic professional options:
- sundirichard.dcreate.domains
- sundiluellarichard.dcreate.domains
- sundilrichard.dcreate.domains
And I might add more creative options like:
- beesandme.com
- collageforever.com
All the while remembering that although they may be meaningful to me, they aren’t very serviceable for the rest of the world. They would also take a lot of explaining, which would distract from what I’d want to use my core domain for, which is a professional site I can use to help people find me and know what I do. Many students elect to keep their domains post-graduation, and want something that will serve their needs after they leave Davidson. Post graduation, if you decide to keep your domain, you can then transfer it to a main domain. For example, I would move from sundi.dcreate.domains >>>>>> sundirichard.com.
In short, keep it short and practical. All the creativity can go into the design and contents—not the domain name which becomes your URL.
- Get registered: Once you’ve decided on a name, go to domains.davidson.edu and click on the Get Started box.
- To log in, use your @davidson.edu credentials.
- After choosing your DCreate/ Main Subdomain Account name click on the register tab.
- You will be asked to agree to terms and then to create your DCreate/ Main Subdomain.
- Once you’ve done this you will receive several emails to your @davidson.edu account. One of these will ask you to click a link to verify the validity of your email address. Please find this email and confirm immediately.
- If the email does not appear in your inbox check your junk mail folder.
- If you do not receive the confirmation email within 24 hours, please contact ti@davidson.edu, and use subject Davidson Domains.
Log in to Davidson Domains Account (Previous Users)
- Go to domains.davidson.edu and click on the Get Started box or Dashboard link in the upper right hand corner.
- To log in, use your @davidson.edu credentials.
- Approve the login through Duo.
- You will automatically be redirected to your Dashboard/ cPanel after SSO authentication.
Dashboard/ cPanel Review for All Users
- You will access the backend of your website through domains.davidson.edu.
- Once you have successfully setup or logged into your account look over your controls:
The main cPanel screen — also called the Dashboard — will appear. A full explanation of the dashboard goes beyond this document, but think of it as the control center for every aspect of your domain. From here you can install software, create subdomains, configure email, or anything else you need to personalize your domain. Look over the cPanel and become familiar with the features available.
Create Your Class Subdomain
A subdomain is a subsection of your website that can exist as a new website without a new domain name. For example, you will create a subdomain for your class that will showcase your critical and creative work for the class. Although, we will focus on creating your class subdomain, you are able to create as many subdomains as you like, and each subdomain enables you to create a distinct, individual website for a specific purpose.
To create your class Subdomain, log in to your Domains and open your Dashboard/ cPanel.
- Locate the Domains section.
- Click Domains.
- Click Create a New Domain – type out the subdomain, e.g., wri101 followed by a period and your primary domain, e.g., wri101.digitallearning.dcreate.domains
- Click Create. (Note that subdomain names can only contain numbers, letters, and hyphens, but the best subdomains are simple, short, and descriptive such as bio380).
- When cPanel is finished setting up your new subdomain, it will notify you (this can take as long as 45-60 seconds). Your subdomain will now be available as an option for when you install an application, such as WordPress, using Installatron.
You’re all set! You have now created a DCreate main subdomain or confirmed your existing account and also created a class-specific subdomain. At this point — returning to the condo analogy — your condo is built and ready to be furnished.
You may begin to explore how you will decorate your class subdomain. We will talk more about installing software like WordPress, themes, good design practices and accessibility during the Domains session.
Install WordPress Using cPanel and Installatron
- Log in to domains.davidson.edu and open your Dashboard.
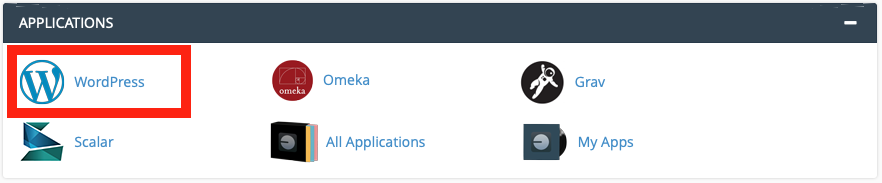
- Locate the Applications section, and click the WordPress icon to launch Installatron.
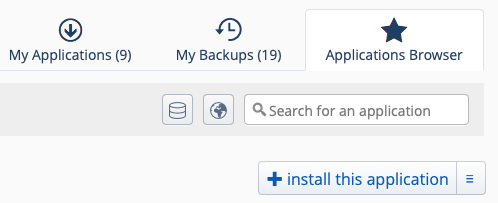
- At the top right of the Installatron window, click + install this application to open the Install settings window.
- Under Location, choose the class subdomain that you want to install WordPress on from the Domain menu dropdown. You may also enter a Directory if you wish. If you have multiple domains/subdomains, make sure you choose the correct domain for this installation. By default, Installatron will select your primary domain. Choose the subdomain starting with https:

- Leave the Version, Update, and Administrator settings at their defaults.
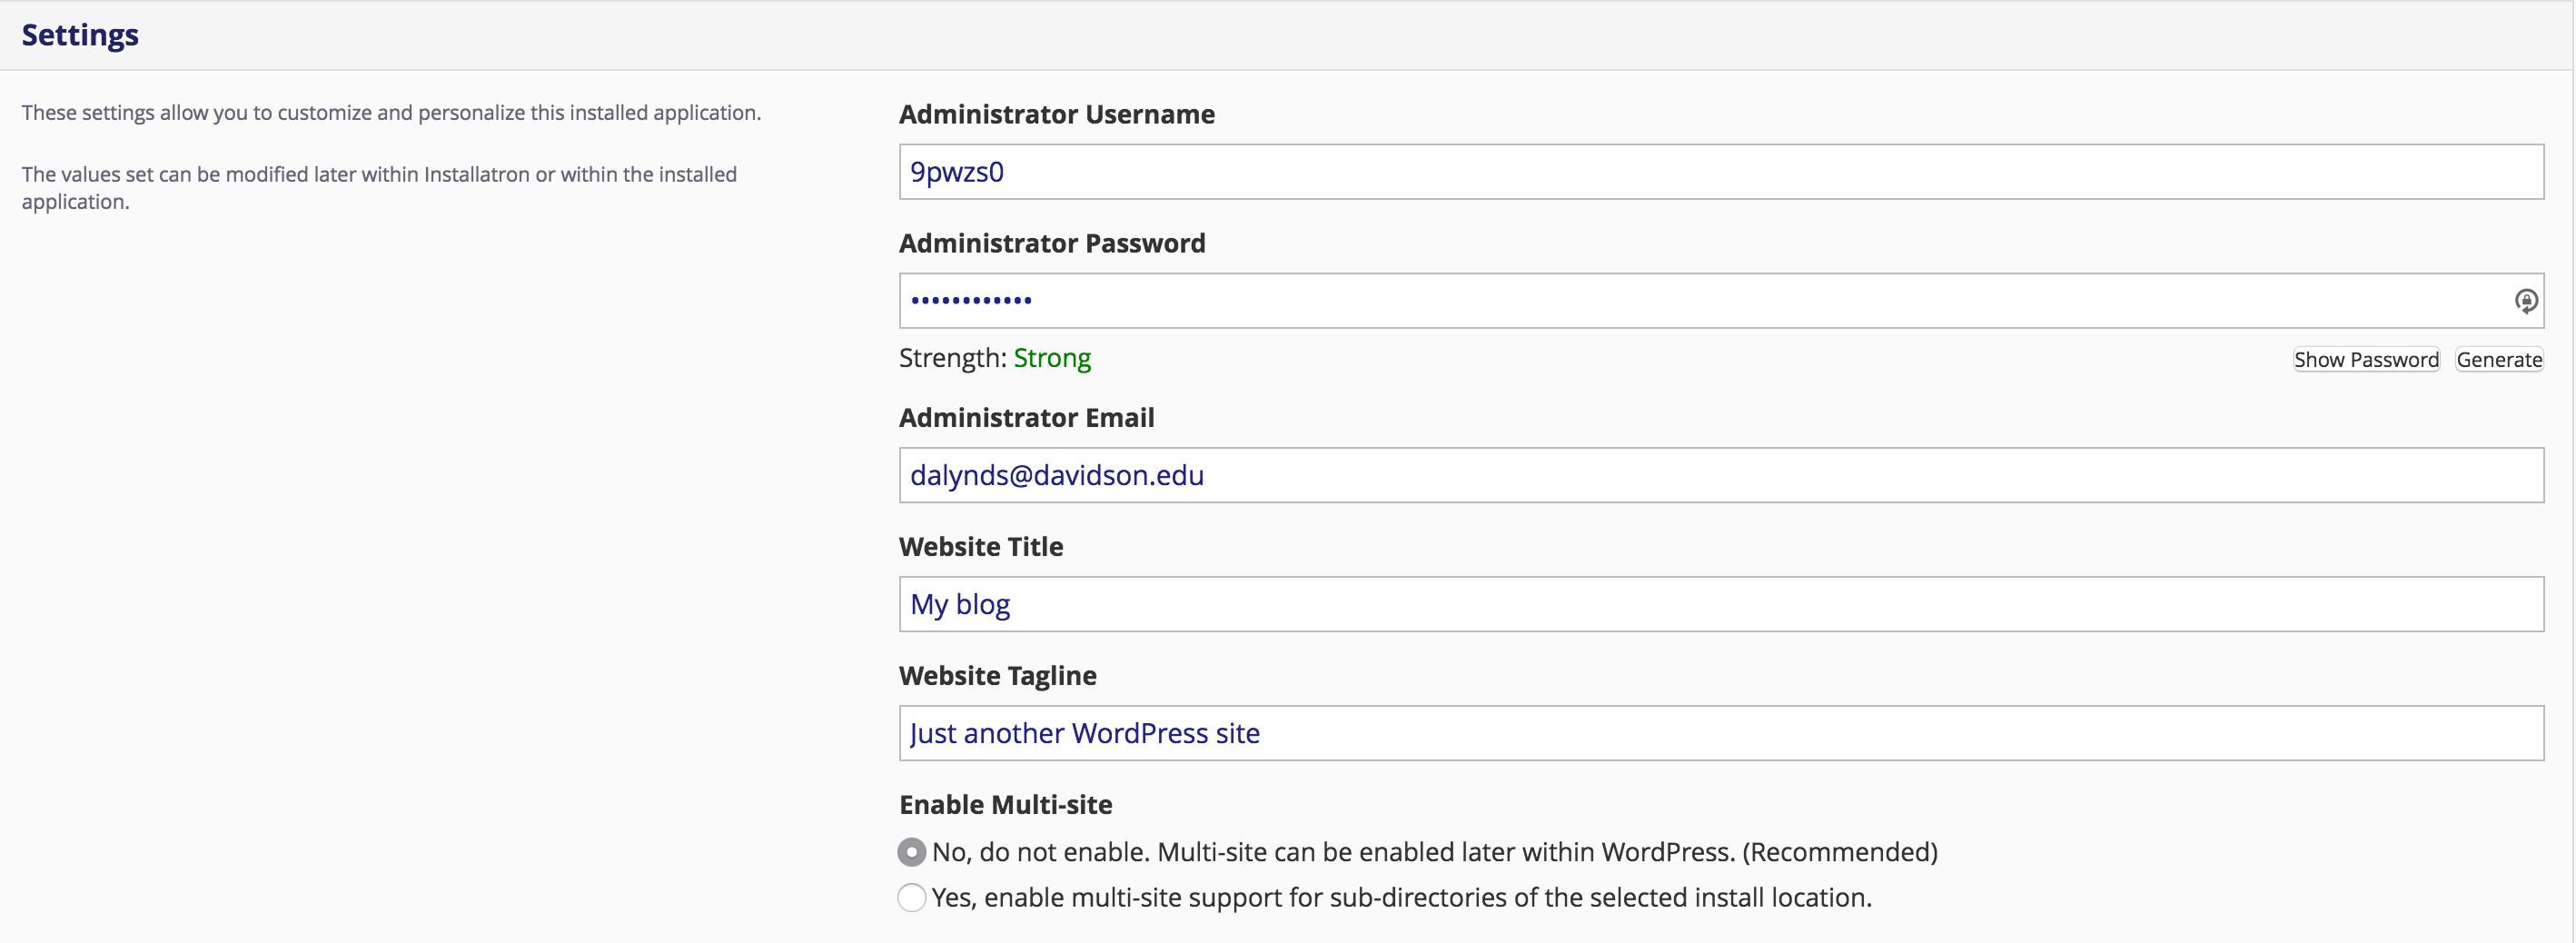
- Enter a Website Title and Tagline, if you wish.
- Click Install. Installation will commence.
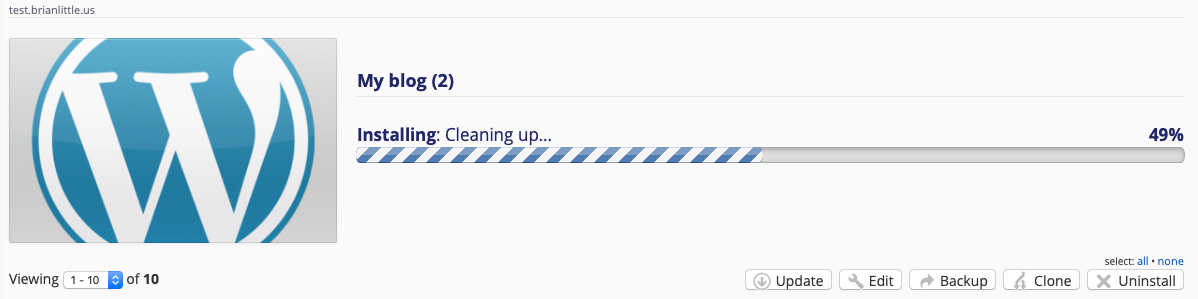
- Under the title of your new site, locate the link ending in “wp-admin” and click it to load the WordPress administrator dashboard.
- You’re all set!
Who Can I Contact for More Information?
T&I Help Articles
Technology and Innovation (T&I) has created extensive documentation on Davidson Domains. For all of the details you need to start out, check out these articles:
- Introduction to Davidson Domains
- Accessing C-Panel in Davidson Domains
- WordPress Themes Community Portal
Specific Needs & Project Support
If you need assistance with Domains or have specific questions on how to implement Domains for your class project, reach out to the following:
- Digital Media Consultants are available to help you with your digital projects.
- Technical questions? Contact Technology and Innovation (T&I) and explain your issue in as much detail as possible.
We are really excited to work with you on your Domains projects and look forward to seeing what you create. Feel free to schedule a meeting with any one of us at any point.